Adding Custom Icons
The Palo Alto Icons Row section comes with predefined Icons to choose from. You can also add your own Custom Icons in the form of Images.
However, if you want to use the SVG format for its higher quality and already have images in mind, here's how to add them in.
Step one
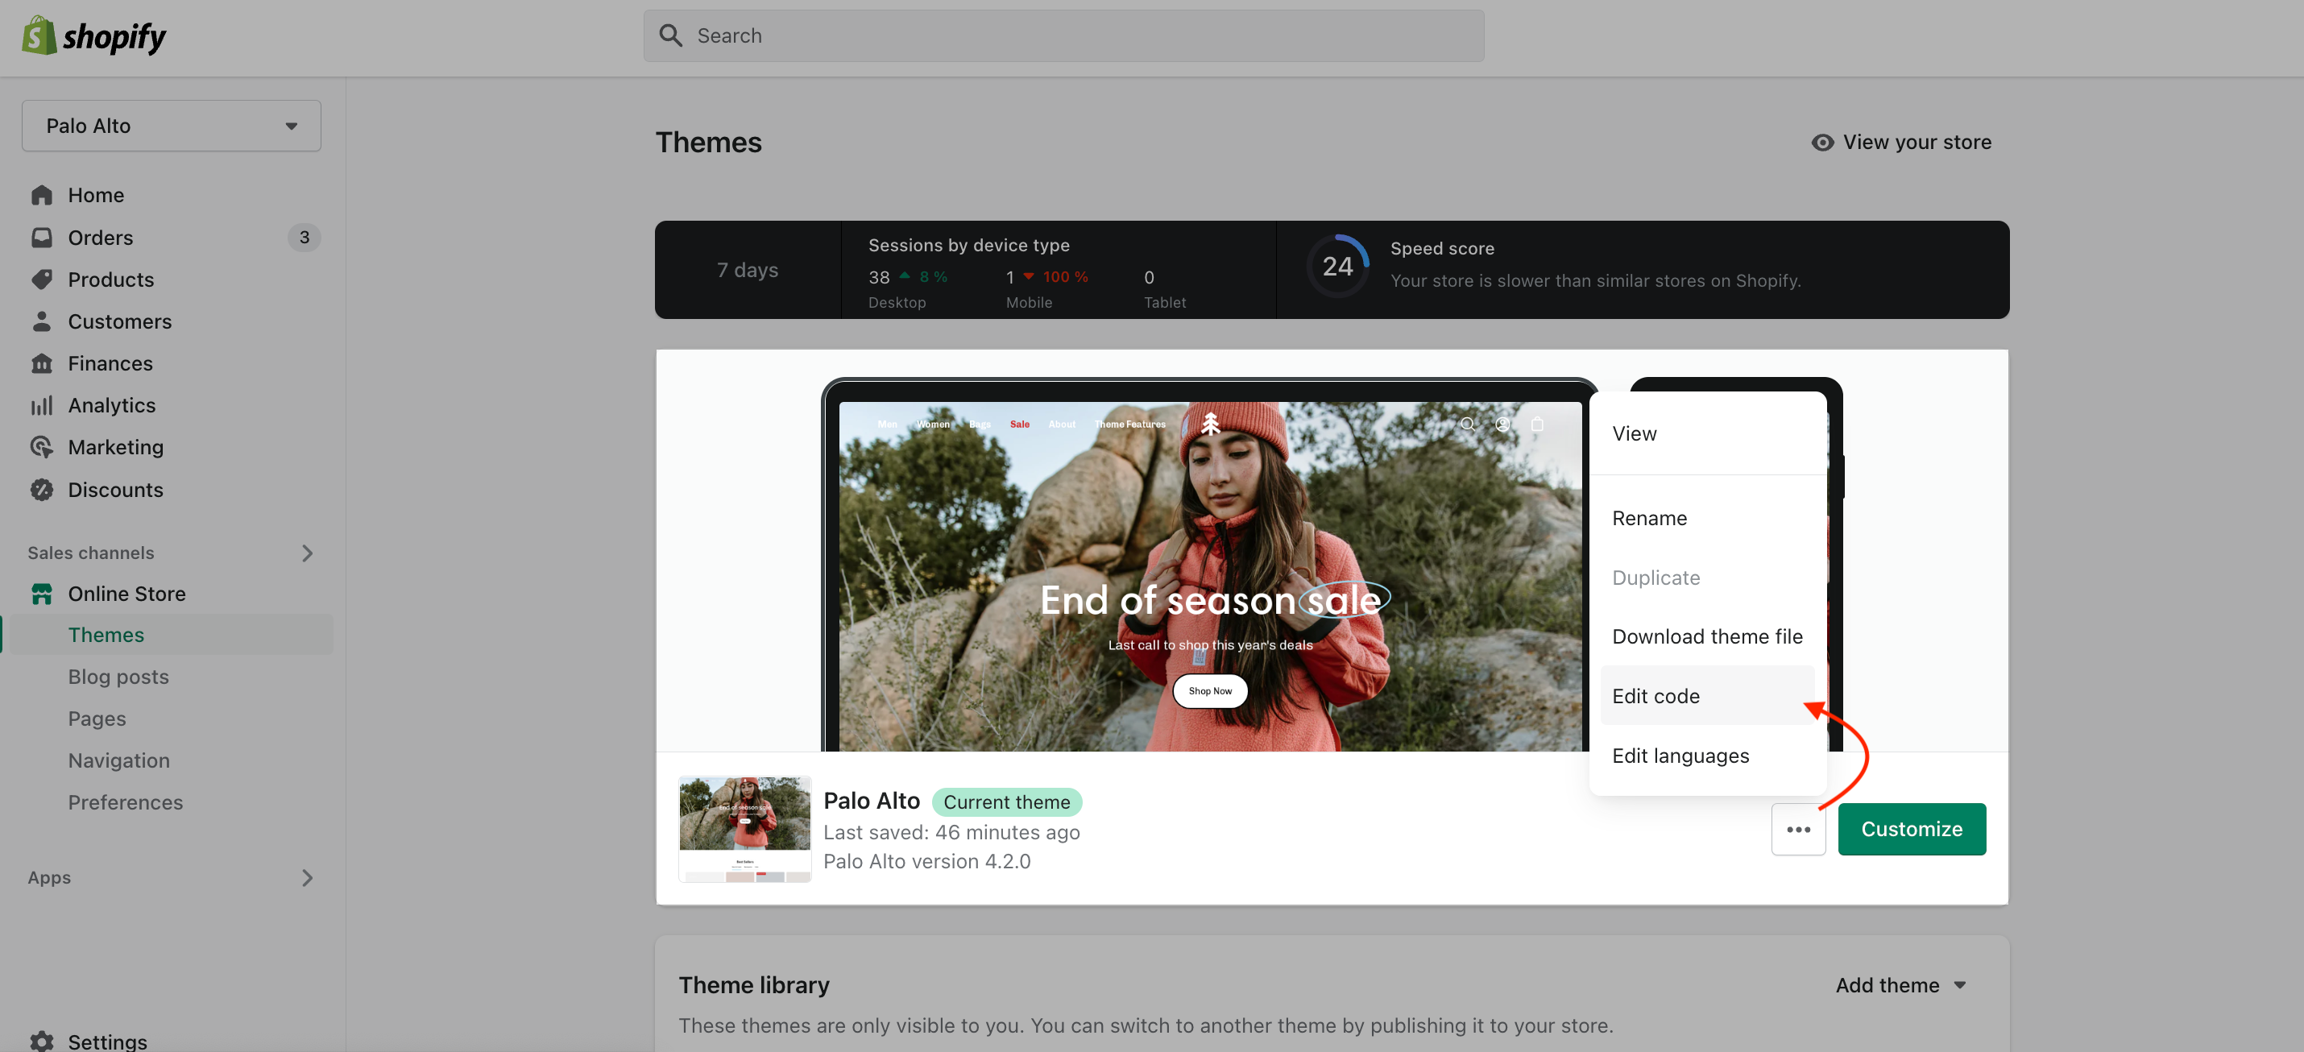
The first order of business is to upload your SVG files into the Theme Code. From your Shopify admin page, go into your Online Store > Themes and click on Actions > Edit code:
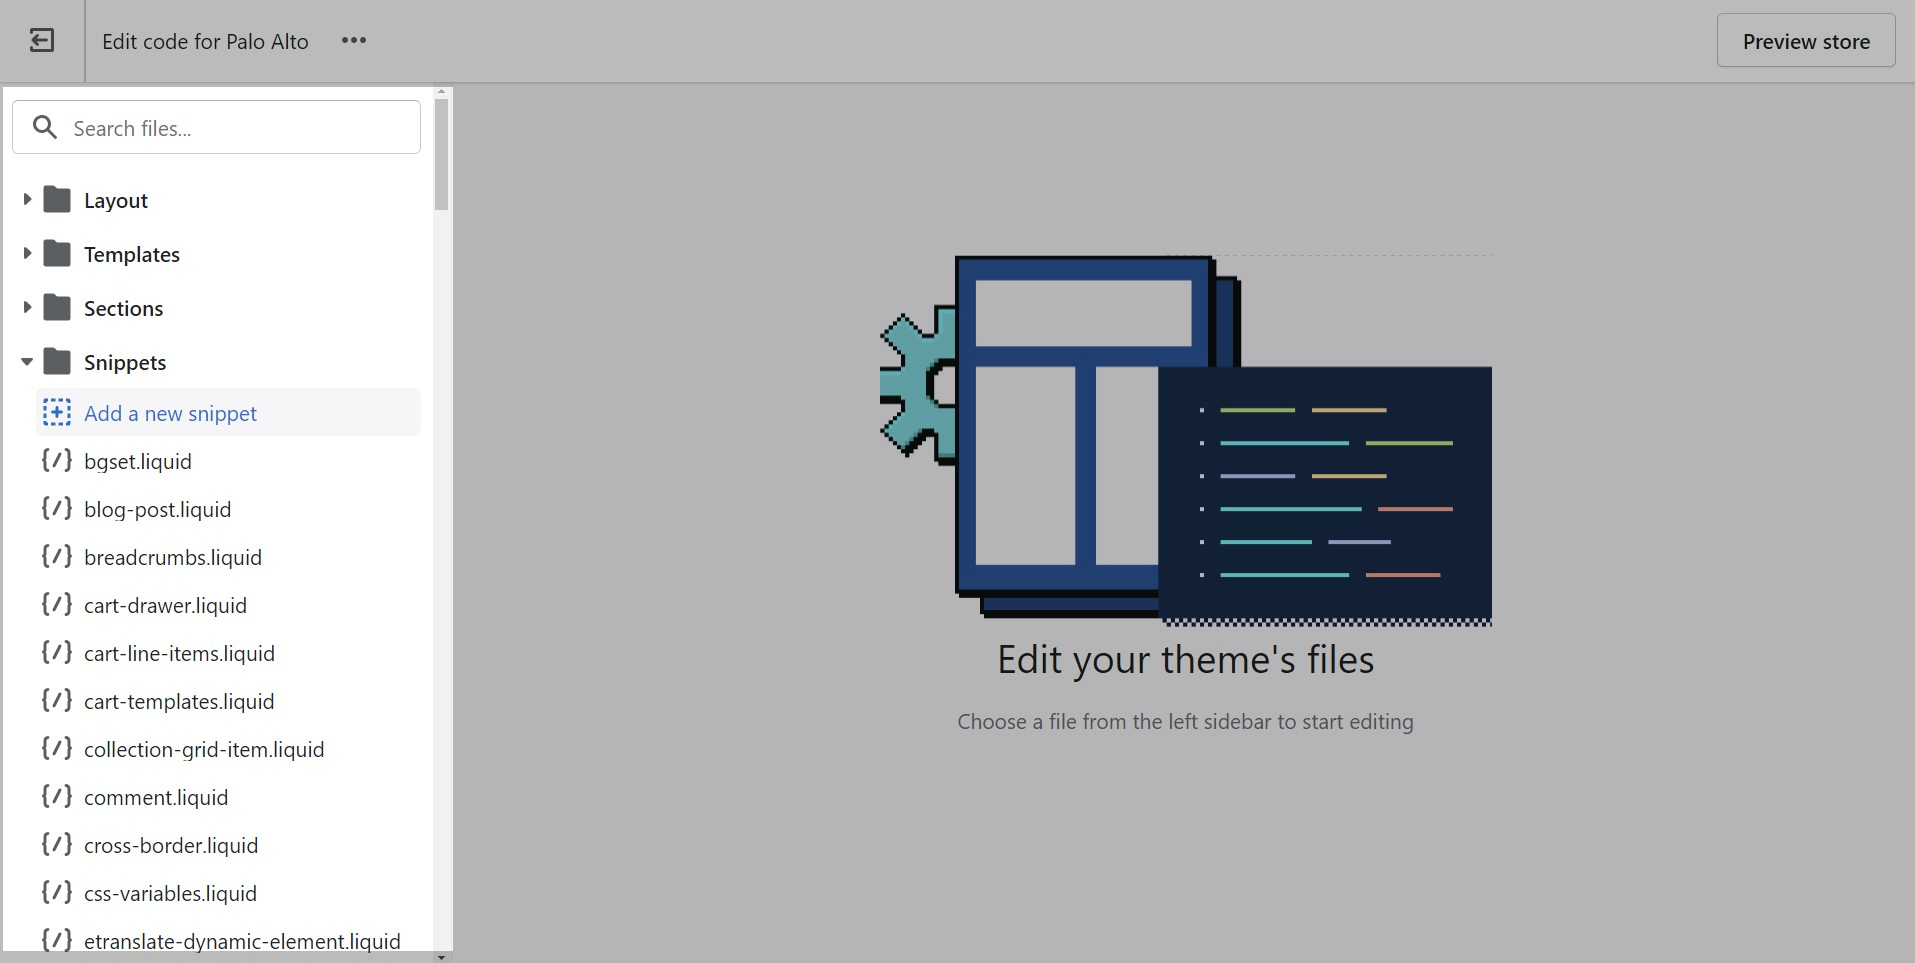
Next, open up the Snippets folder and choose to Add a new snippet.
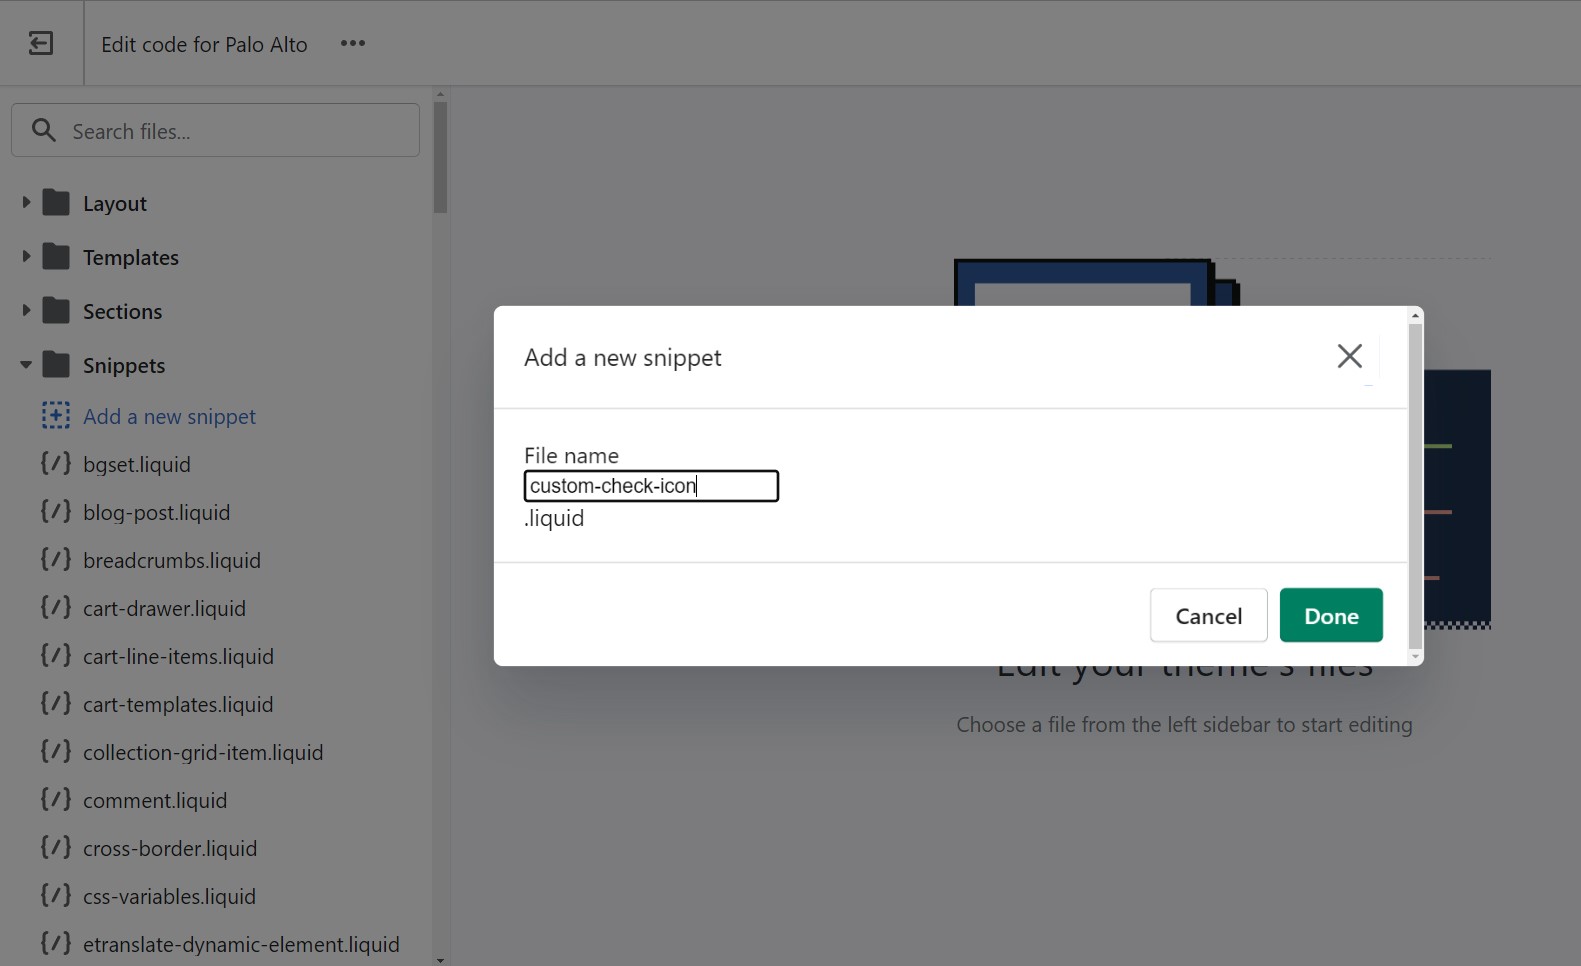
You will be prompted to give the new file a name. A common practice is to use lower case letters only with dashes instead of spaces (we call this 'kebab case'). We'll call our example 'custom-check-icon' which will automatically be converted to custom-check-icon.liquid by Shopify.
Now you will have a blank file. You can simply paste in your SVG code for your icon. Usually, this pastes all in one line.
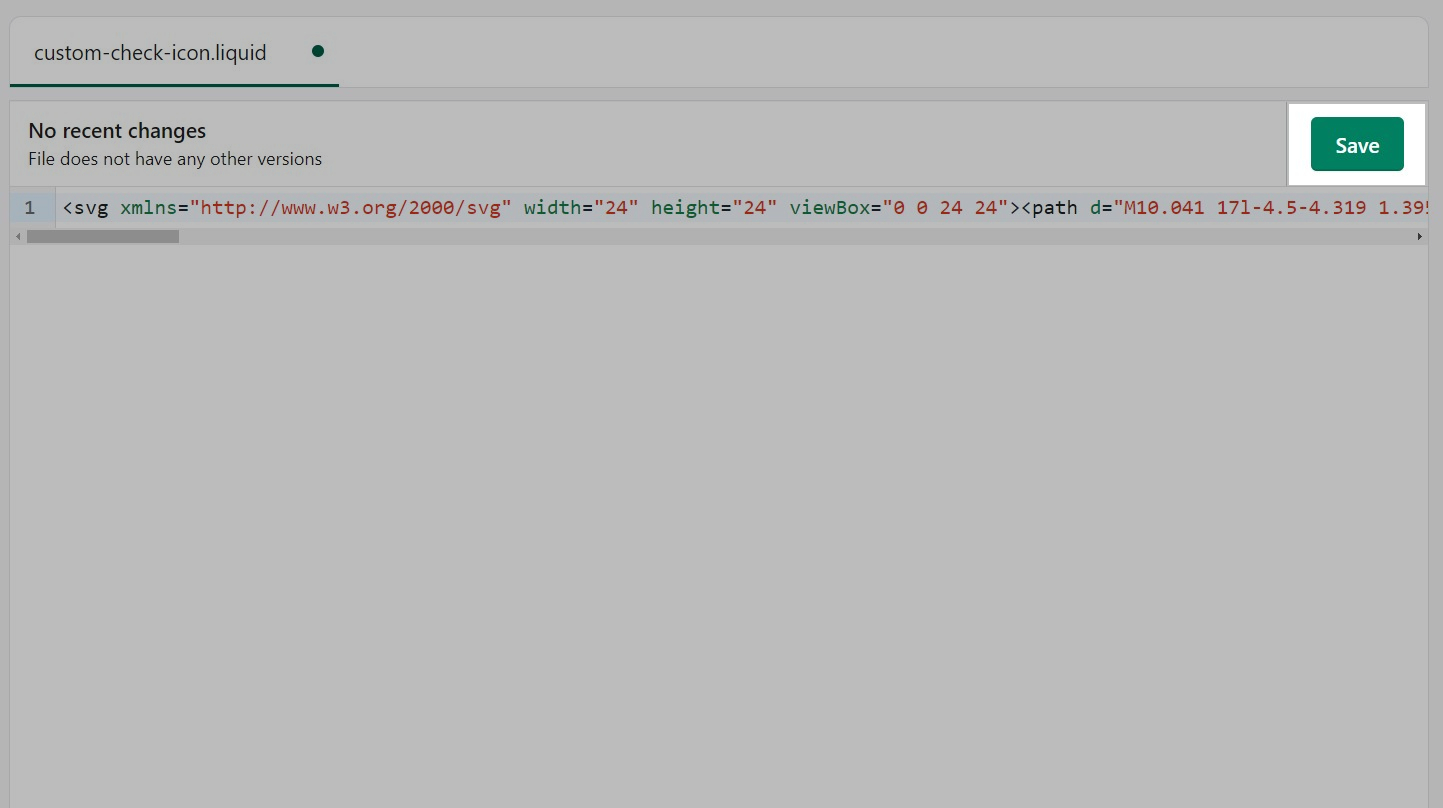
Don't forget to Save the changes once you're done
Step two
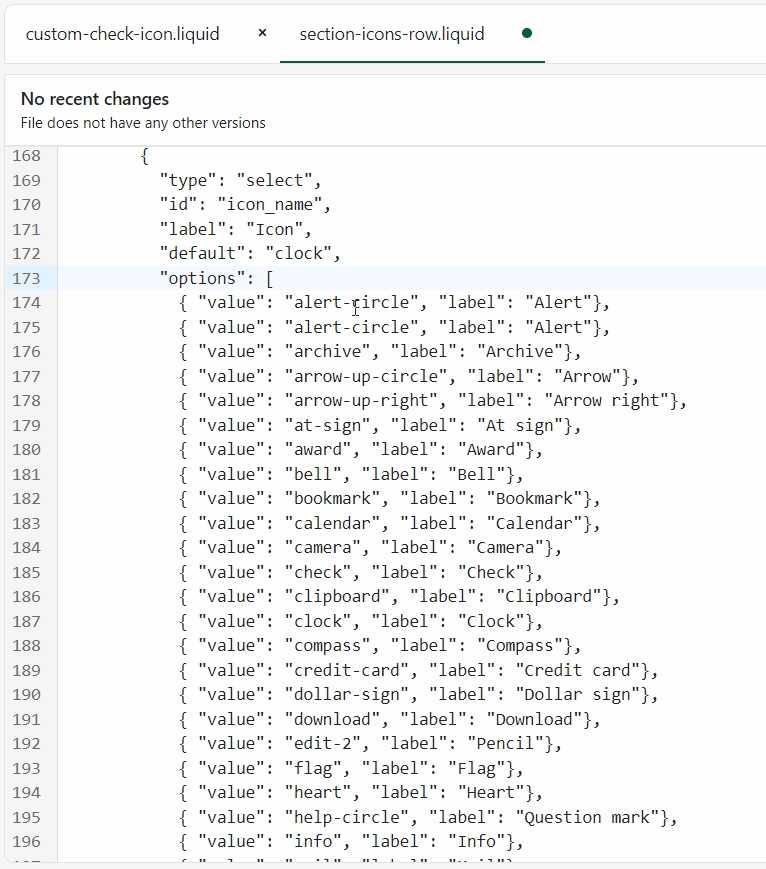
Now that we have our custom icon ready to go, it's time to add it to the list of available icons. To do this, we have to open the section-icons-row.liquid file from the Sections folder.
Here, we can use Command + F (or CTRL + F on Windows) to find the icon_name in the section schema settings.

Simply copy and paste the first value of this schema above itself and this will create a new option in the drop-down.
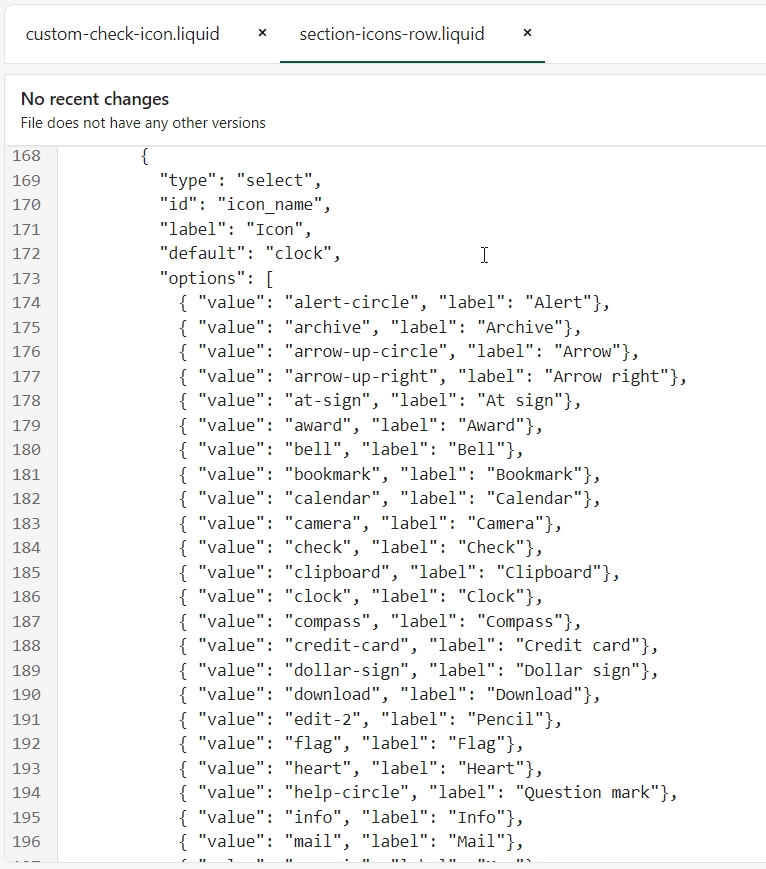
Next up, rename the value and label to something that matches the name of the custom icon.
Step three
The final step is to open up the icons.liquid file from the Snippets folder and add in a new option in the case.
The easiest thing to do is to copy and paste lines 2 and 3 any place before a when tag. Once that's done, simply rename the text in the tags to match your custom icon name.
Don't forget to Save the changes.
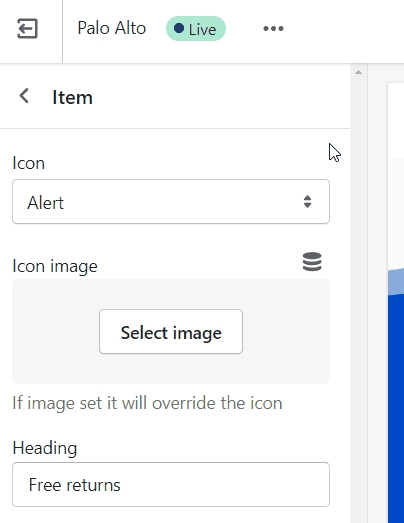
Your new option will now appear in the Icons Row block selection menu: