Cart
Empty cart buttons
In Palo Alto, you have the option to show up to three upsell buttons when the cart is empty.
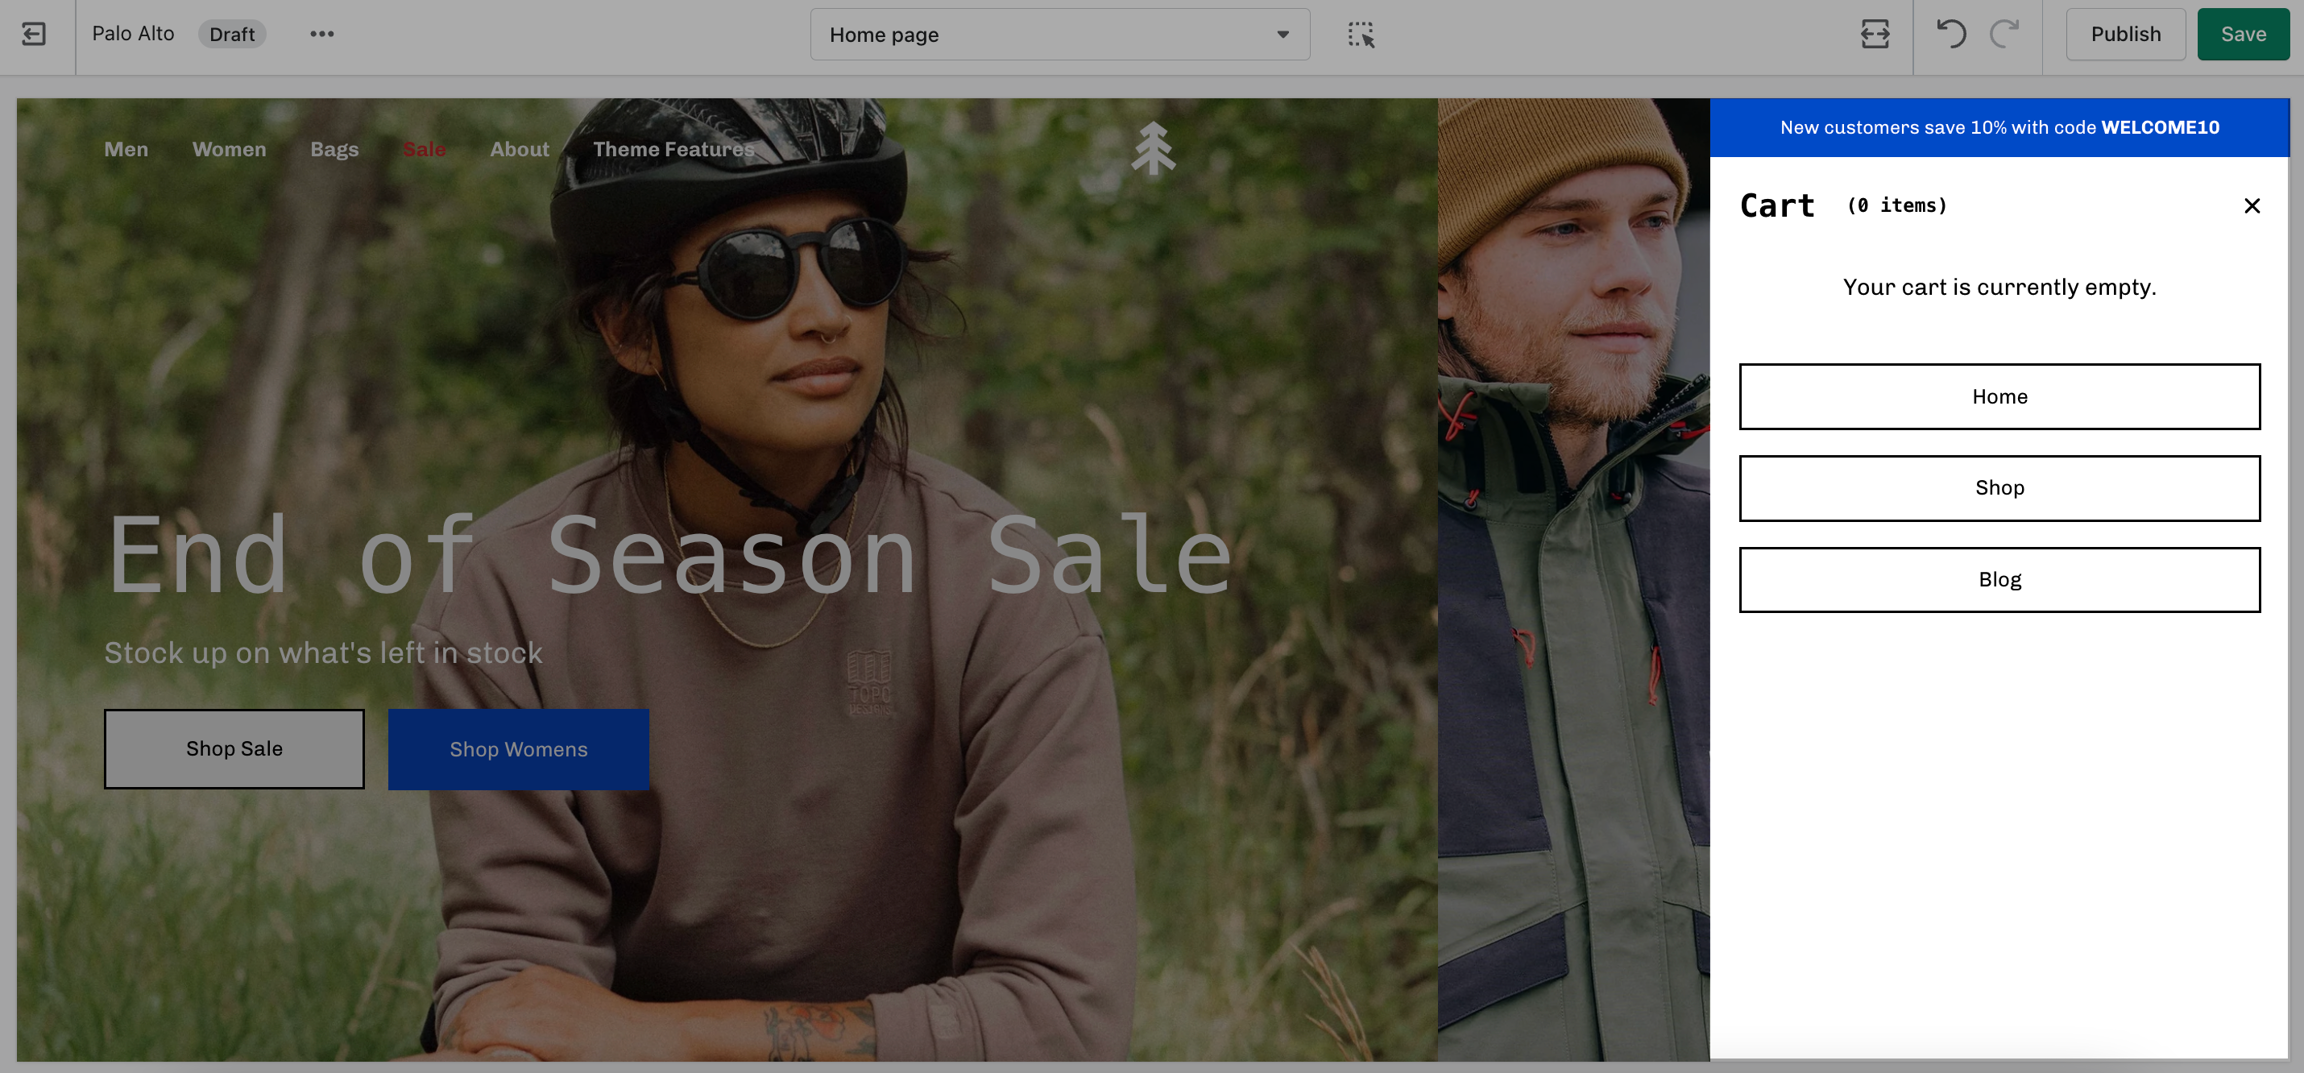
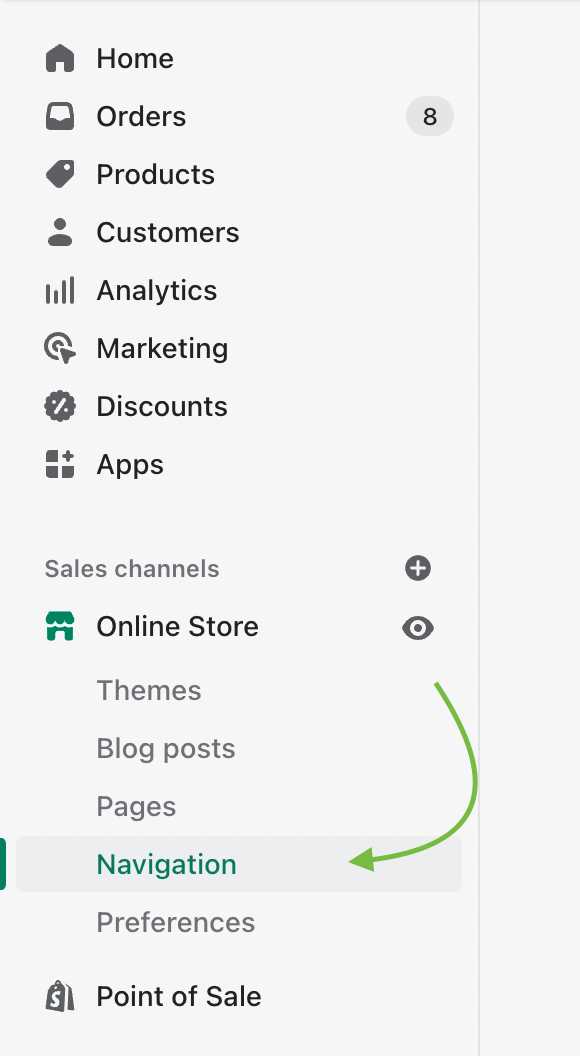
To set this up you need to first create a new navigation menu. Start by heading over to your Online Store > Navigation and clicking on 'Add menu':
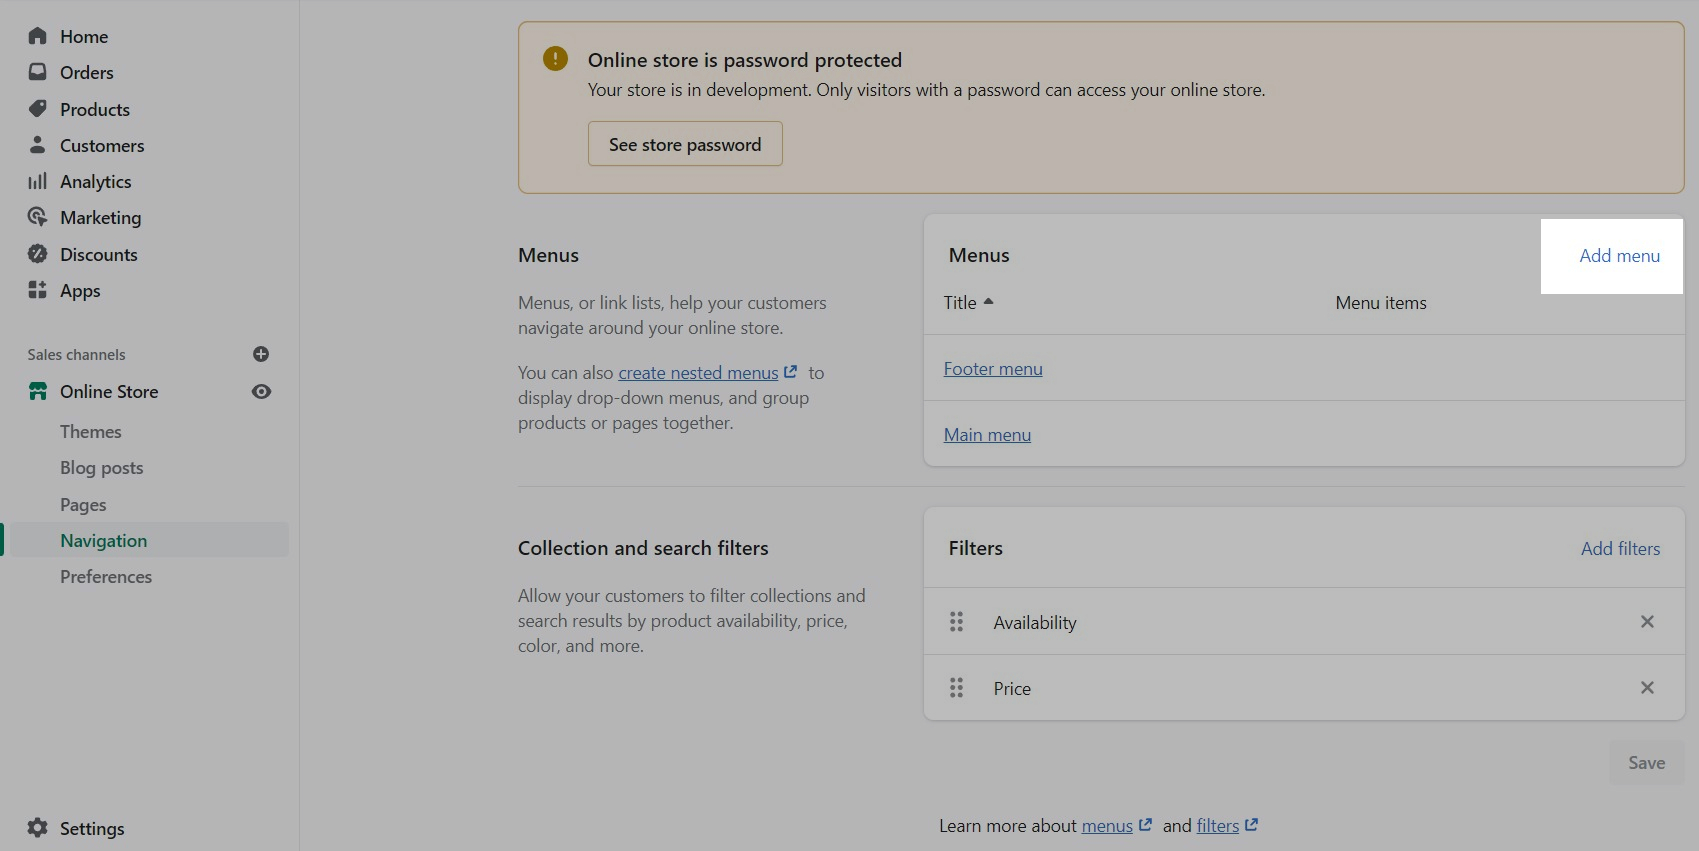
You can give it any name you want, we will call ours 'Cart menu'.
Note: You can only show up to three buttons so you should only add up to three links in your menu.
Lastly, you need to open up the Theme Editor and click on Theme Settings > Cart.
Under Empty cart click on 'Select menu' and choose the menu you just created:

Free shipping message
Dynamic message to encourage increased items per transaction.
Add a free shipping message in the cart drawer to help your customers know how close they are to free shipping. The value fills up and changes as items are added to the cart.
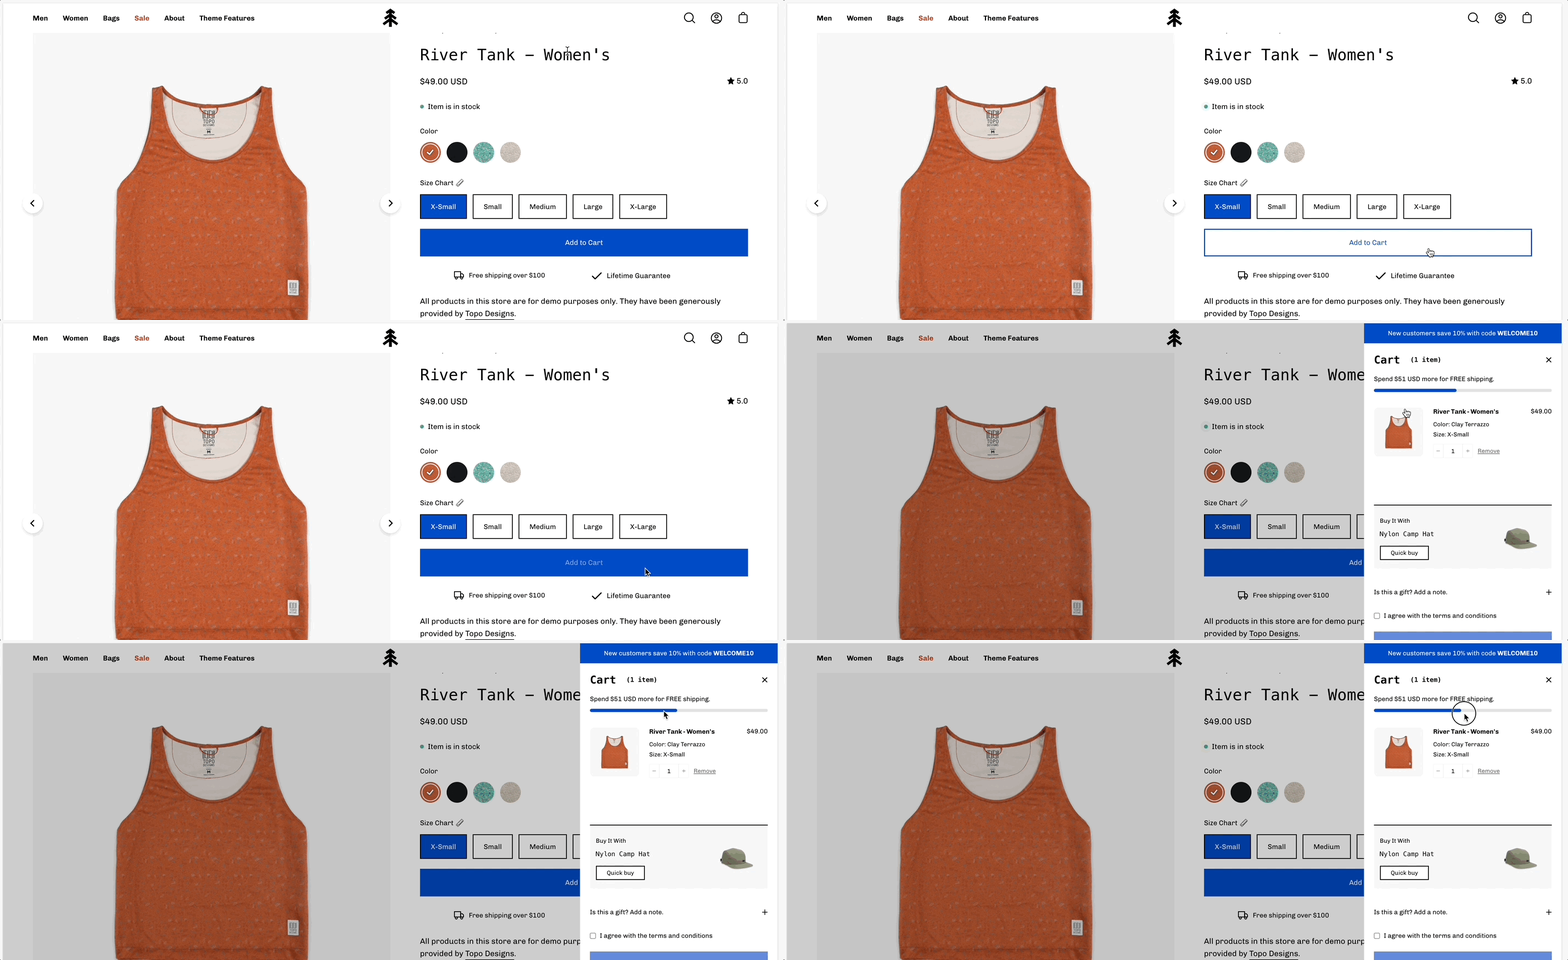
Use to encourage add-on sales and increased quantities
How to setup
Enable the 'Free shipping message' from the Theme Settings -> Cart tab and set the value from the 'Minimum spend for free shipping' field.
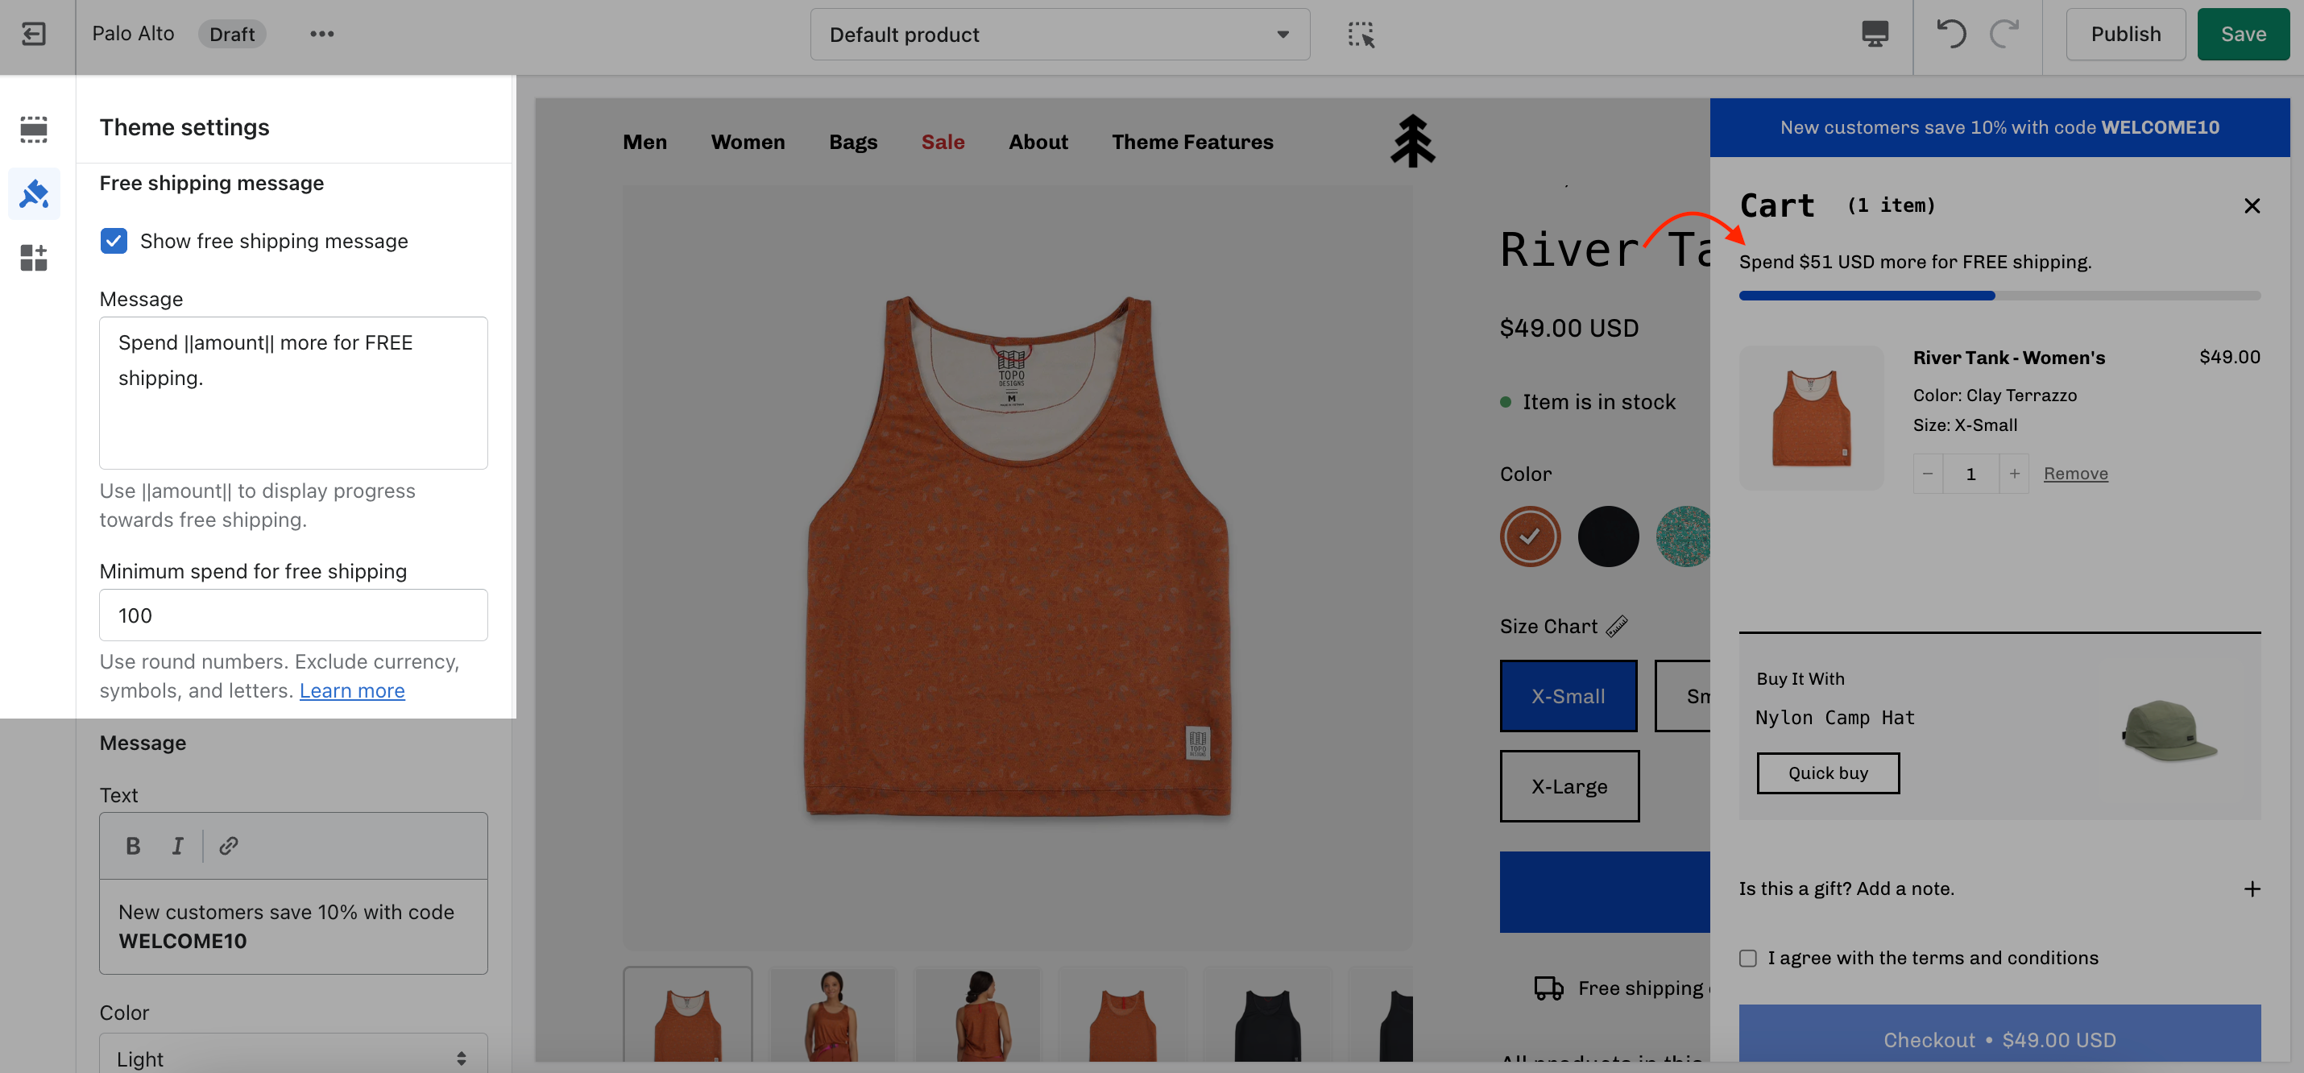
Modify the message text as needed. Keep the || amount || custom short-code to reference your set value from the Cart settings.
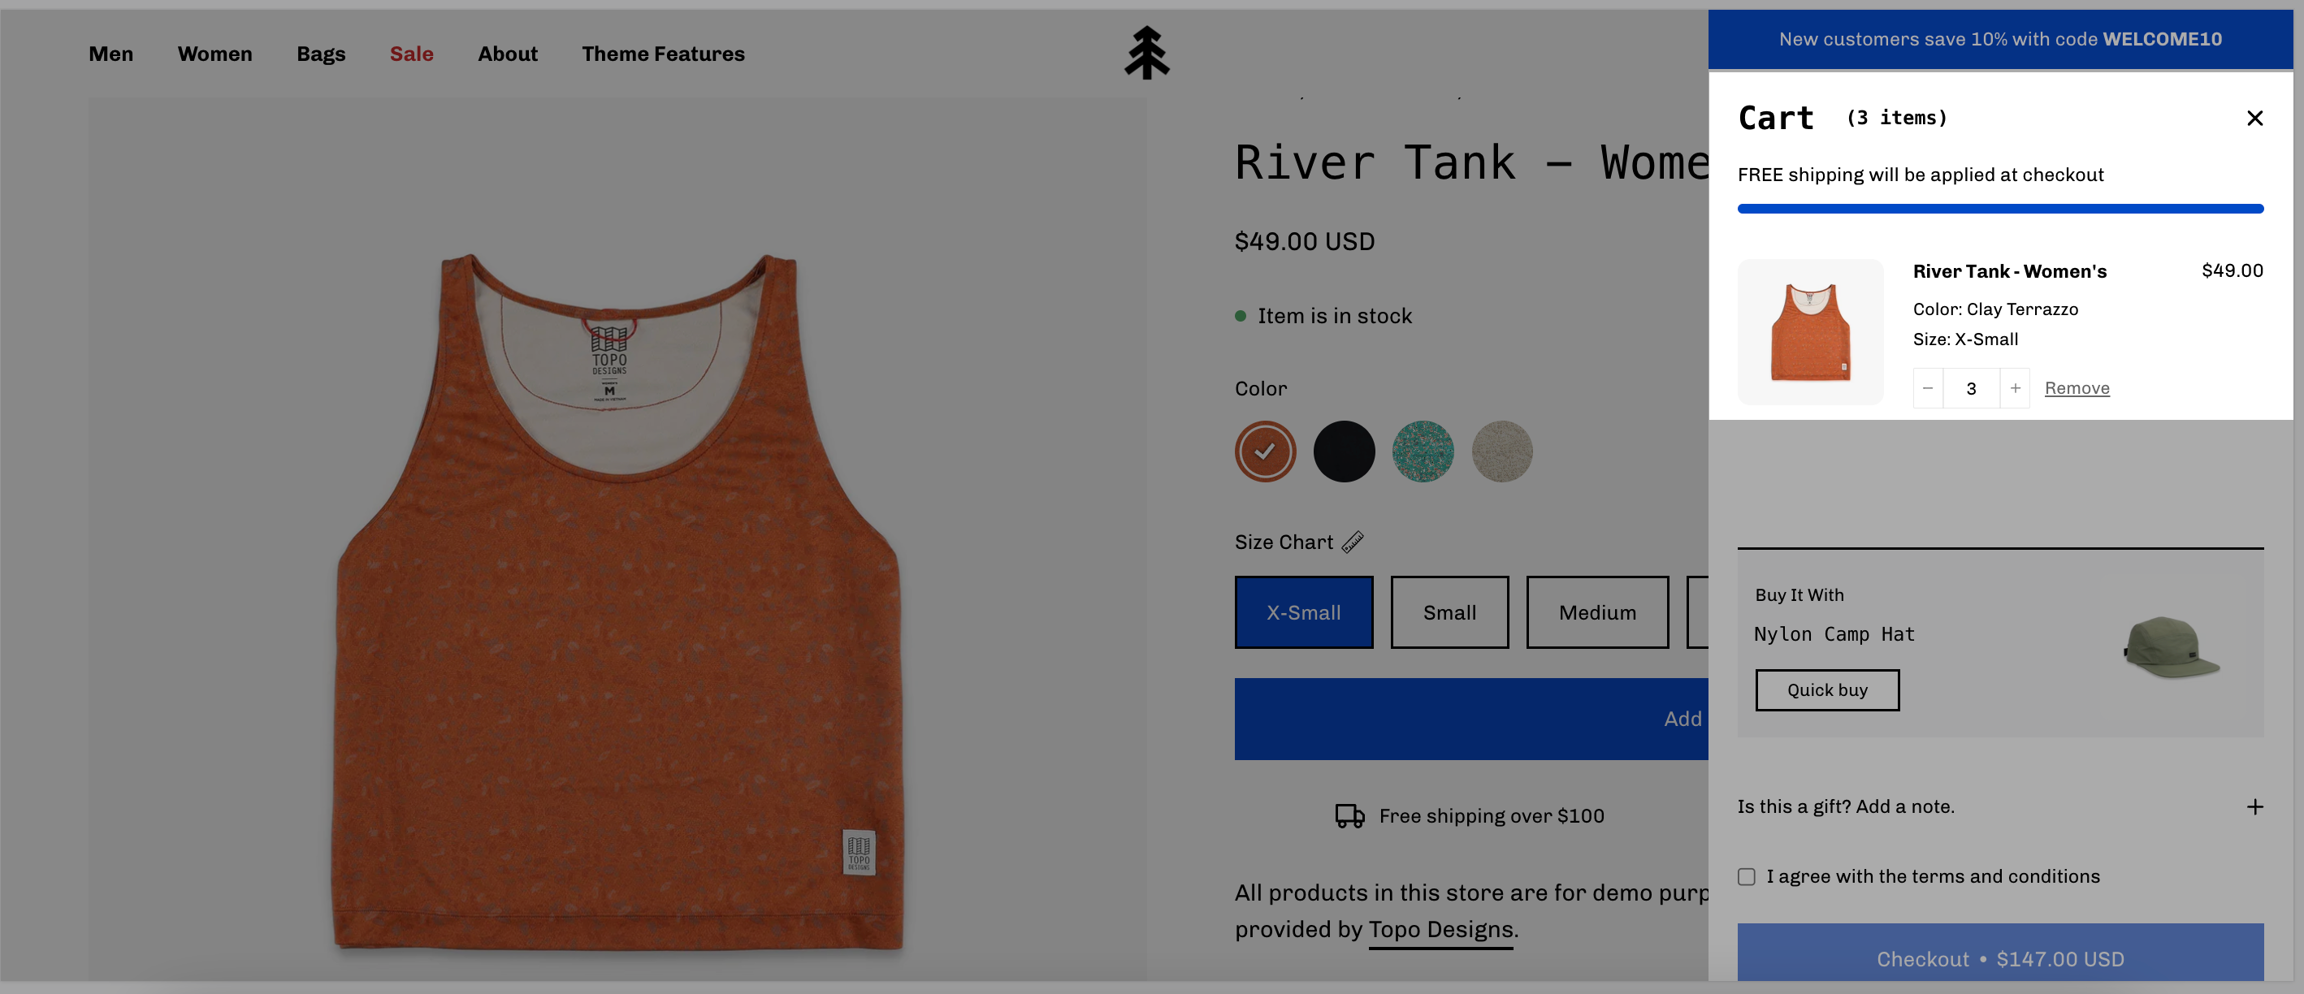
Once the required amount is reached a message will show up too:
Custom Message
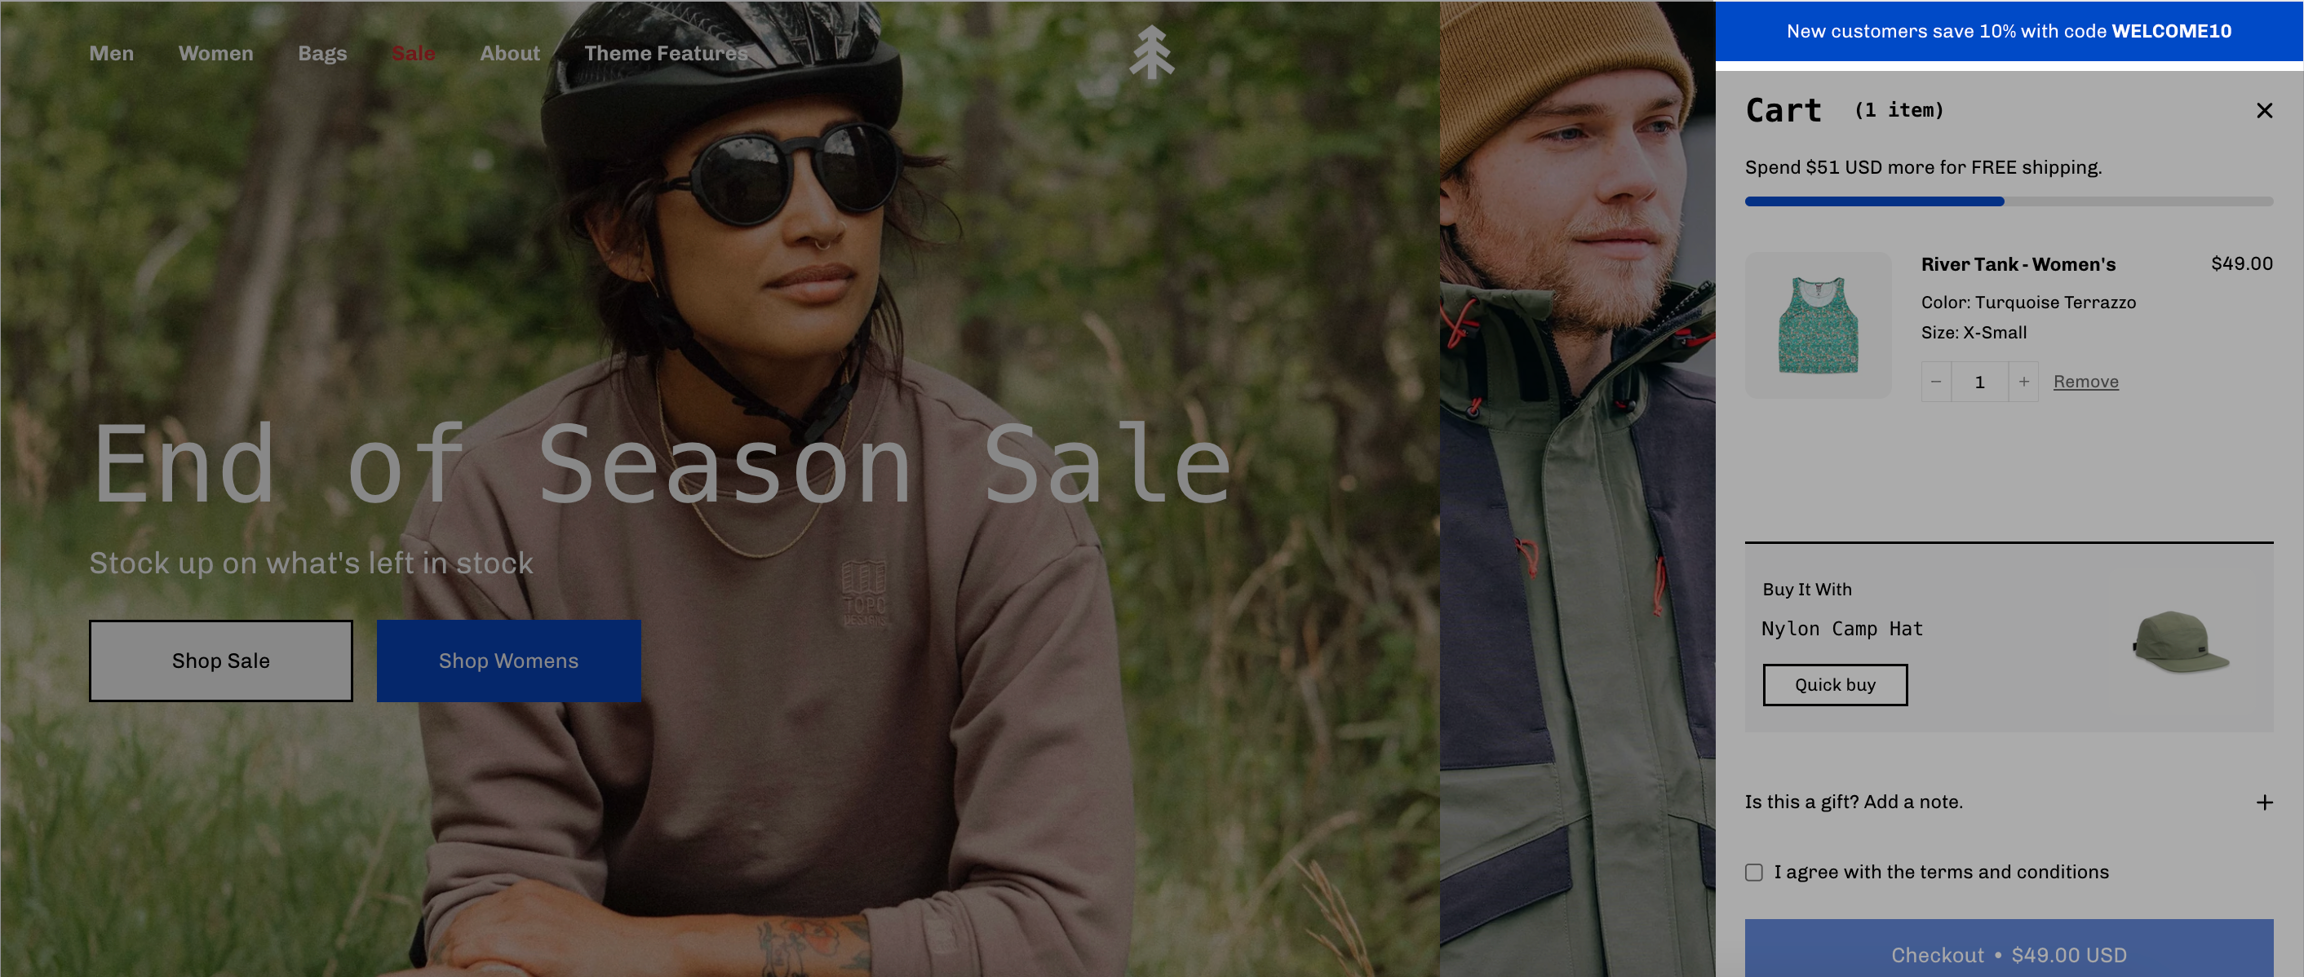
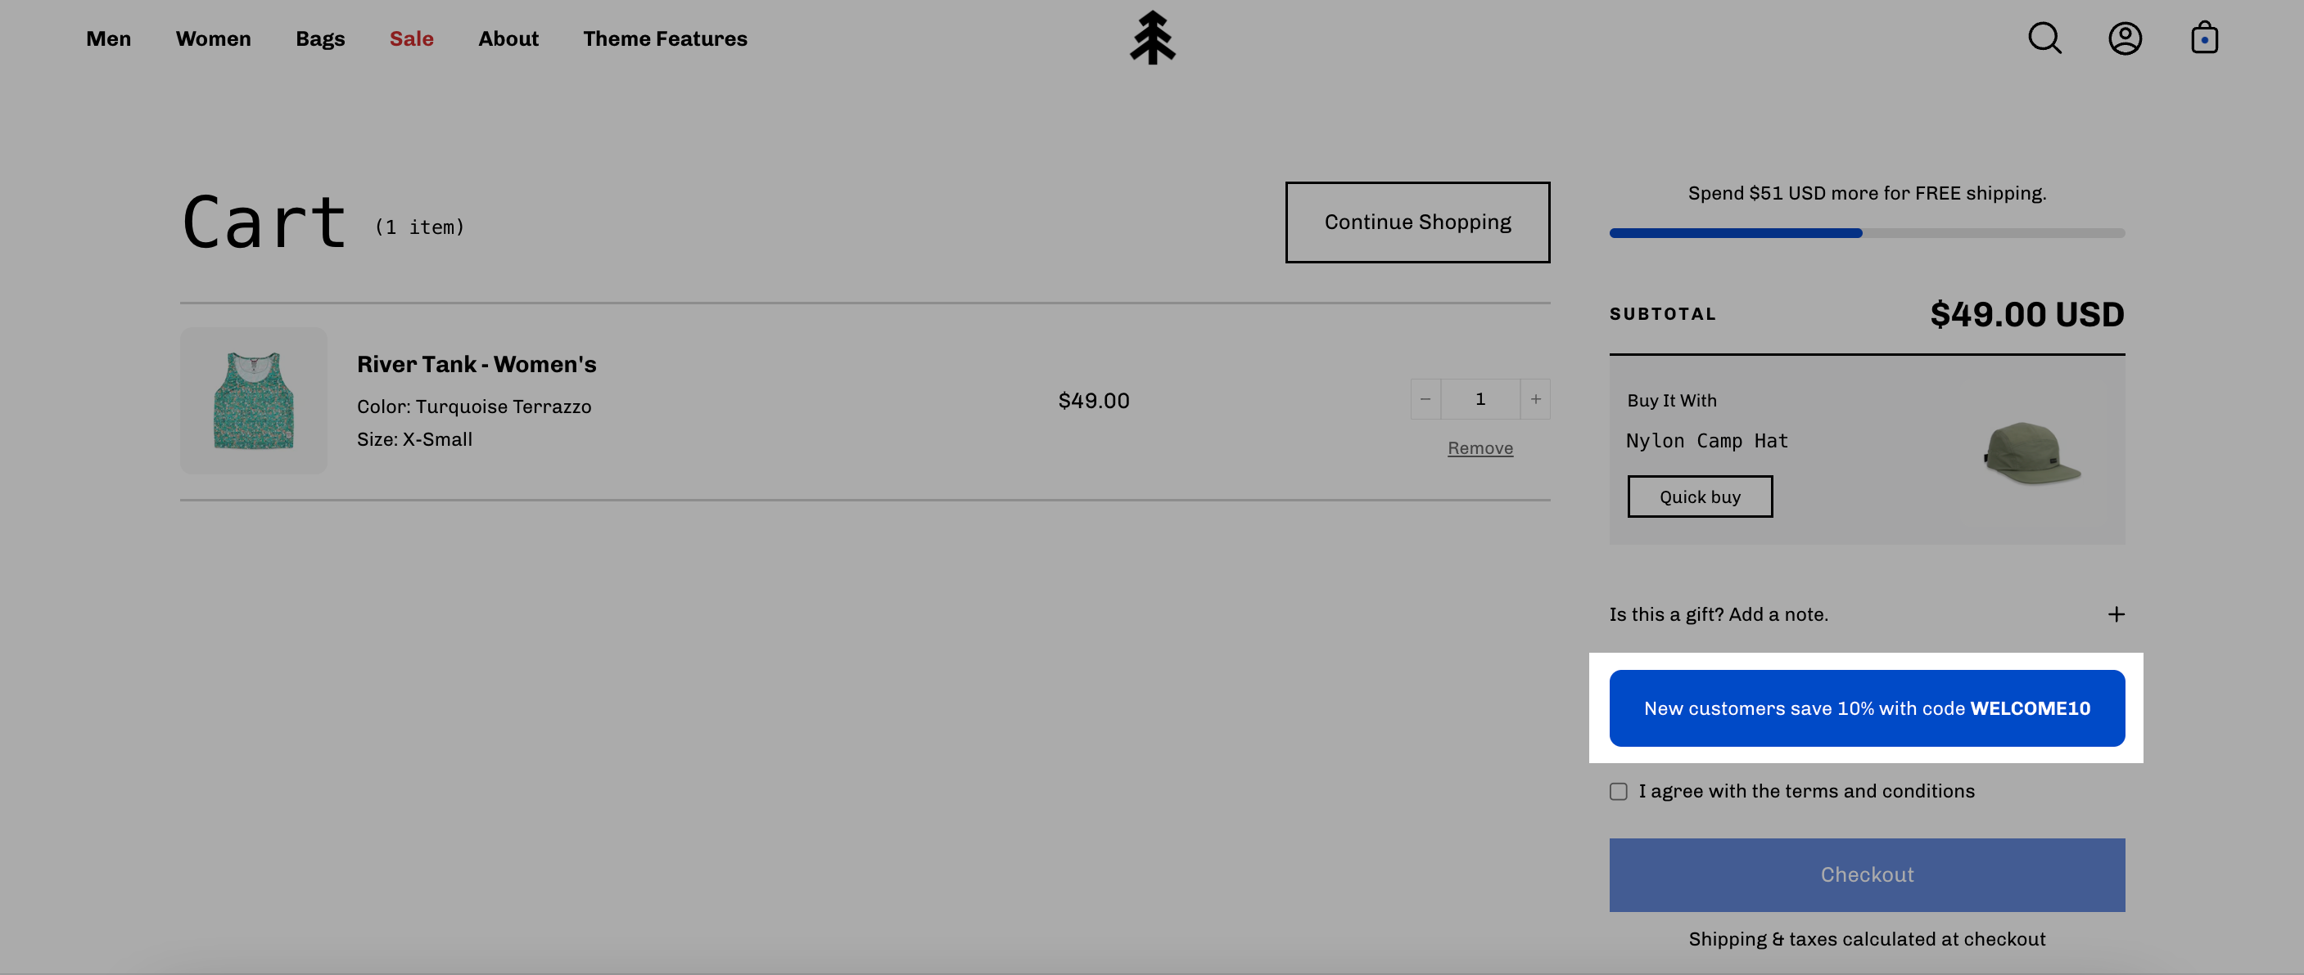
Use a Custom Cart Message to broadcast important information to your customers.
How to set it up?
To set up a new Custom Cart Message you can open the Theme Editor and click on Theme Settings > Cart. The options for this are under the 'Message' headline:
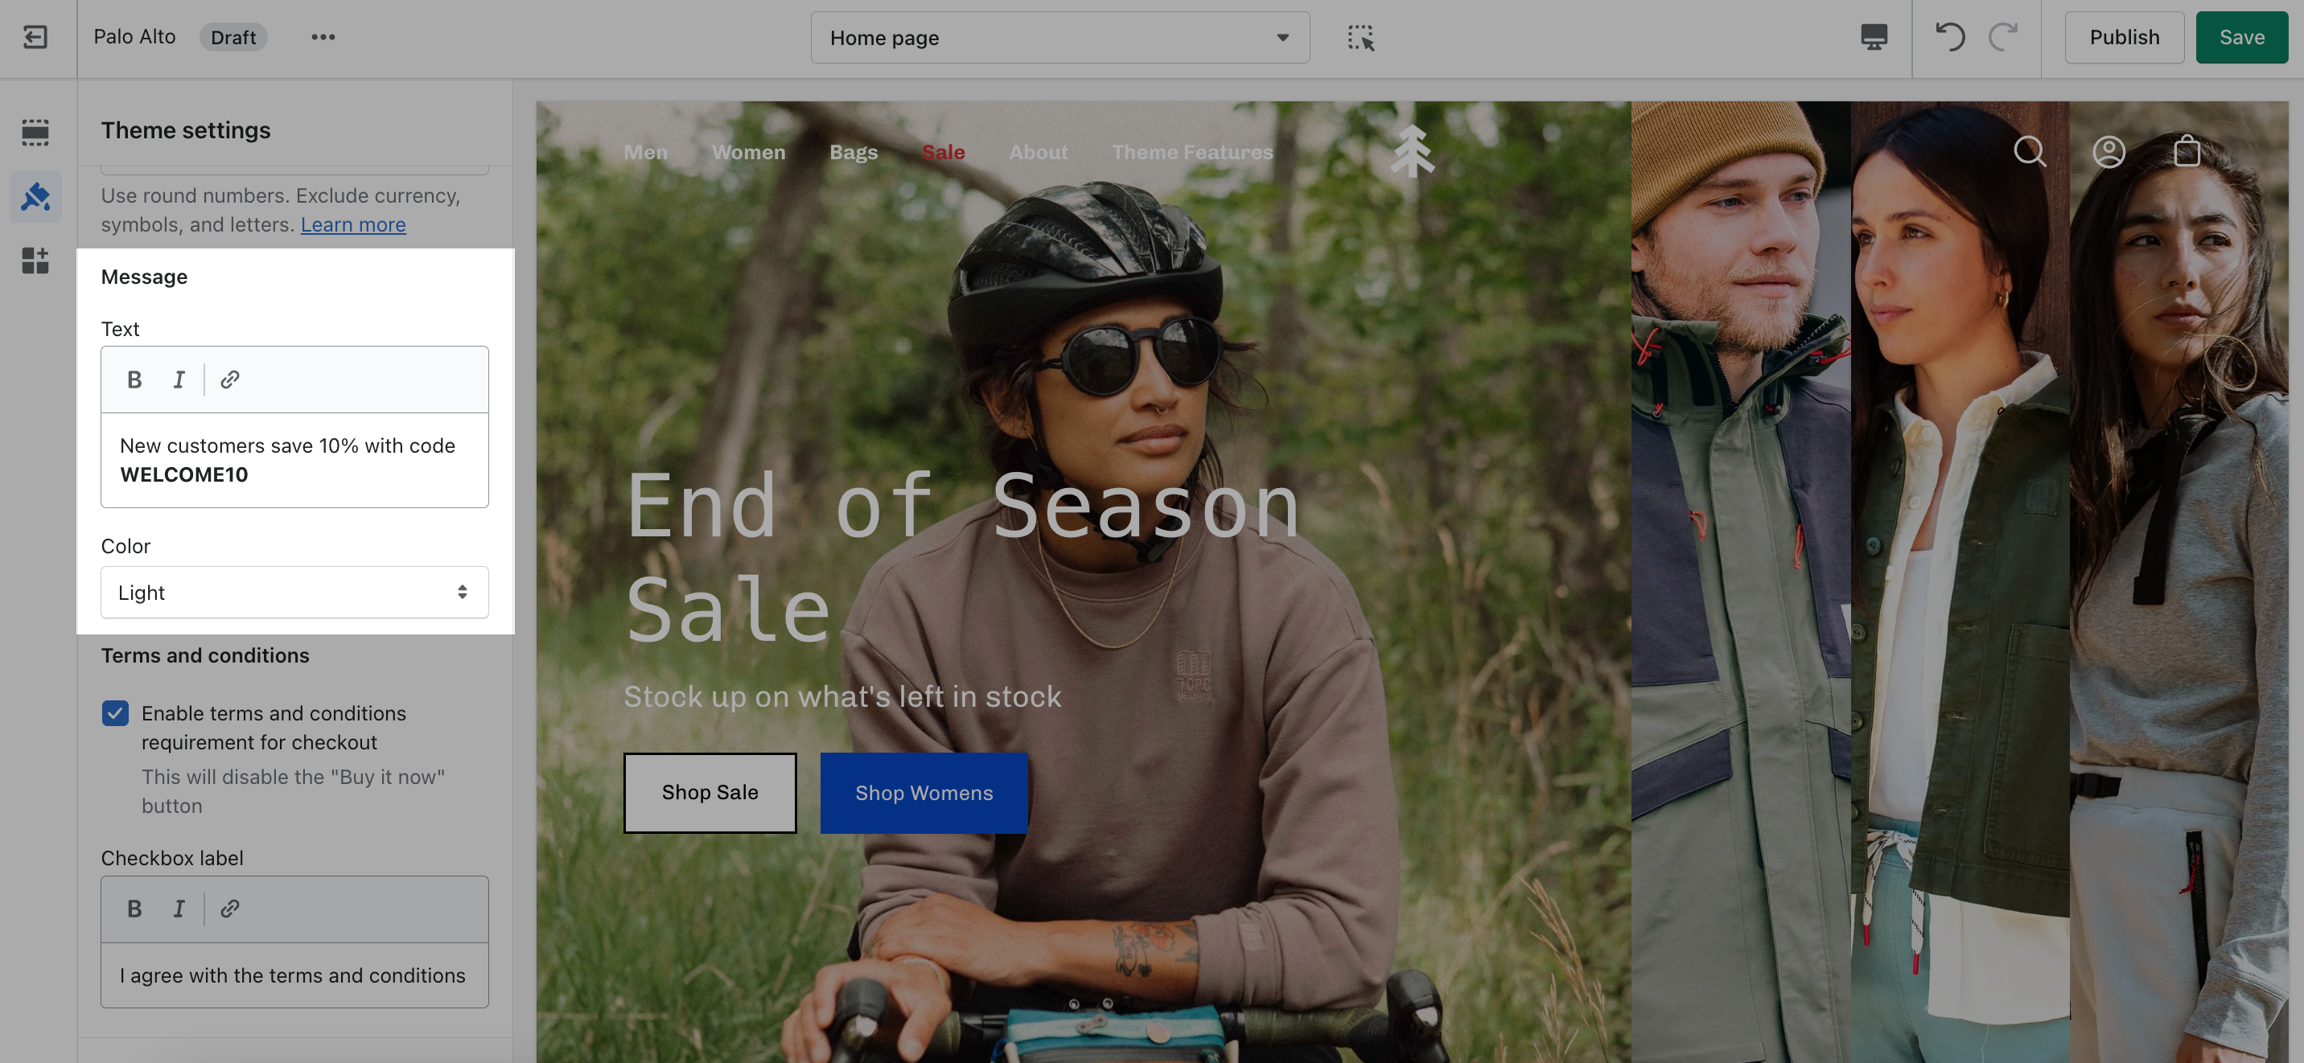
Note: The Message itself does not generate a promo code. If you plan on using this message in a similar way be sure to set up a promo code first. Click here to learn more about Shopify Promo Codes and Discounts.
Where can you see it?
The Custom Cart Message is shown in the cart drawer (like in the example above) and in the cart page.
Terms and conditions
The cart terms and conditions allow you to add a checkbox to stop users from checking out before accepting the terms and conditions of your store.
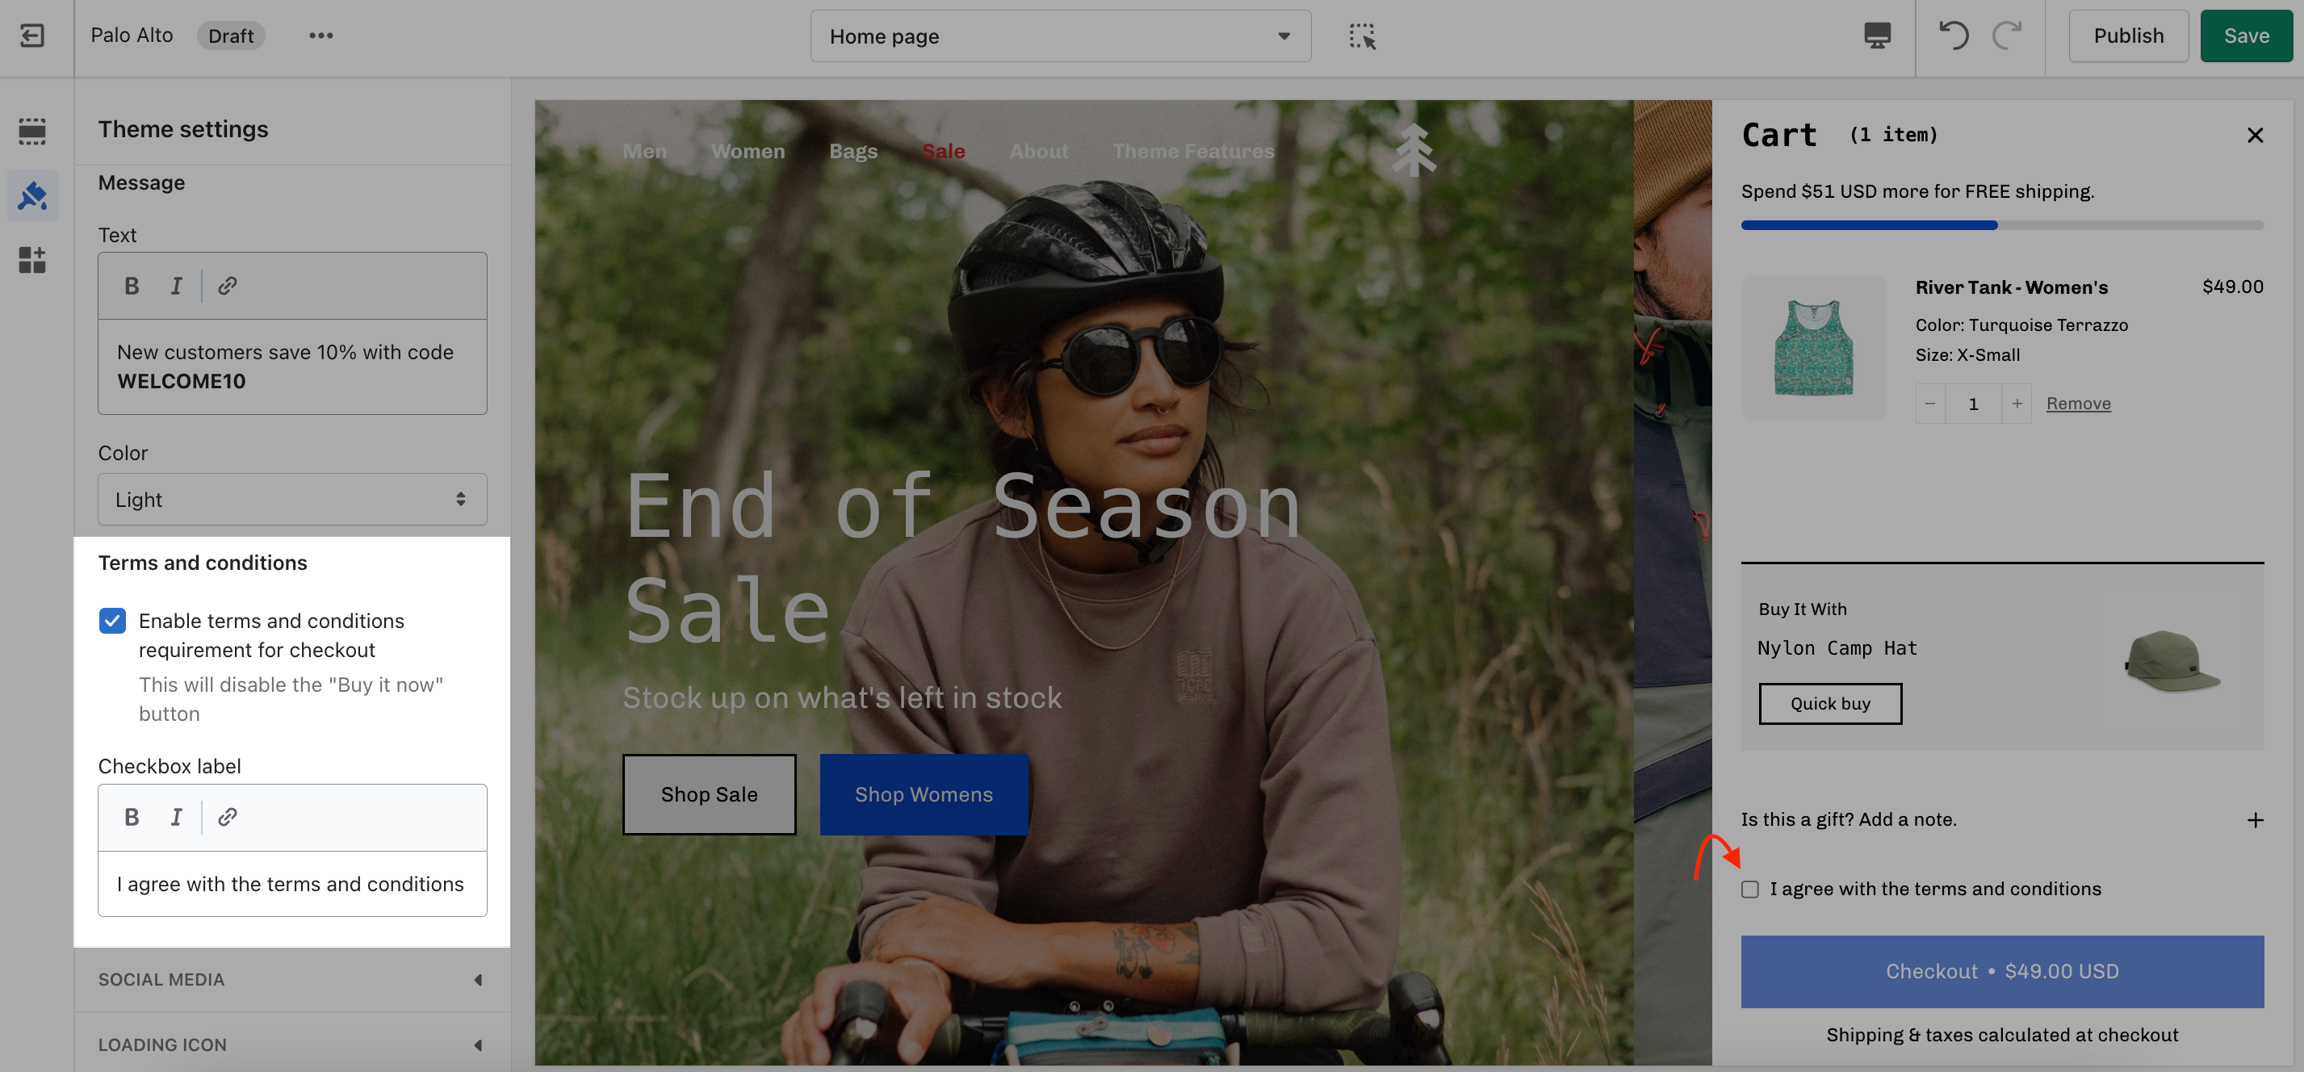
To enable this option you can go into your Theme Editor and click on Theme Settings > Cart.