Palo Alto Doumentation
NewSupport
Palo Alto 4.0
Palo Alto 4.0
  • Palo Alto Theme Documentation
  • Online Store 2.0
    • The new experience
  • Header
    • Announcement bar
    • Transparent header
    • Logo and store name
    • Using the Palo Alto Mega Menu feature
  • Sections
    • How to use sections
    • Recommended Image Sizes
    • Product sections
    • Image sections
    • Text sections
    • Custom sections
  • Products
    • Using the new Palo Alto Product Pages
    • Creating new Product page templates
  • Collections
    • Using the new Palo Alto Collection Pages
    • Filtering options
  • Popup
    • Popup with image
    • How to change the "You agree to..." text
    • Cookie consent
    • Popup bar
  • Footer
    • How to remove the Shopify credit
  • Blogs
    • Using the new Palo Alto Blog Pages
    • Creating new Blog page templates
  • Pages
    • Using the new Palo Alto Pages
  • Updates
    • Checking your theme version
    • Downloading the latest version
  • Support
    • Contacting support
    • Updating your theme
    • Sharing a preview link
  • Custom
    • How to add Custom Color Swatches
    • How to make CSS customizations
    • How to add Custom Fonts
Powered by GitBook
On this page
  • Adding Custom Color Names
  • Uploading the Custom Swatch Images To carry out the upload
  • Enable the color swatches option on your product page settings
Export as PDF
  1. Custom

How to add Custom Color Swatches

PreviousSharing a preview linkNextHow to make CSS customizations

Palo Alto matches any valid CSS color names with a color swatch automatically. This feature relies on the CSS coding language, which has color keywords built-in but is entirely in English.

Documentation page coming soon

Below is a reference of CSS colors names:

Adding Custom Color Names

Let's take the custom color name “Rose Red” as an example. It isn't an actual CSS Color, so the swatch that's displayed is almost the same as red.

To do so, you will need to generate a png image to display a custom swatch color for Rose Red. You can crop part of an actual product image if you like to show texture or the exact color.

In our case here, the png image will be:

The file will be named "rose-red.png". There are two things to watch out for with the file name here:

1. Please ensure that you add a dash between the words. Shopify needs you to add a dash when you have space or special characters.

2. Ensure that you use lowercase characters only (the file extension needs to be in lowercase too).

Uploading the Custom Swatch Images To carry out the upload

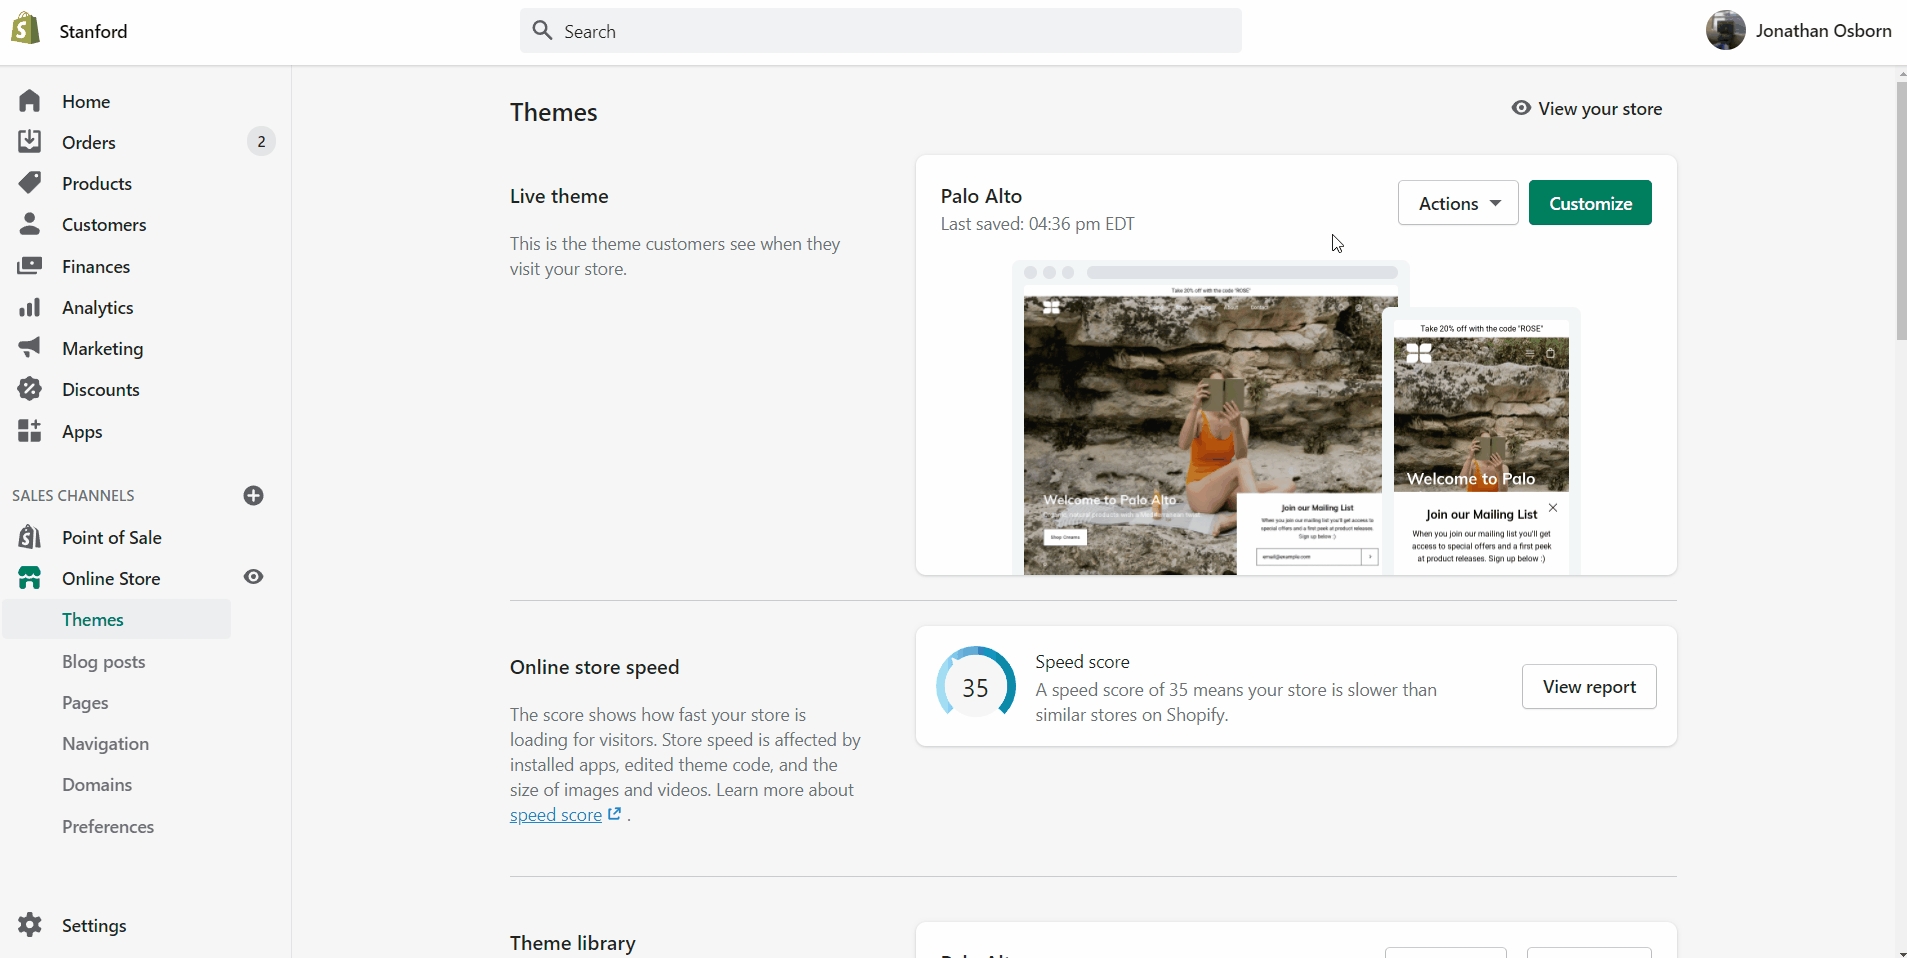
  1. Navigate to your Online Store > Themes and click on Actions > Edit Code

  2. Scroll down to the Assets Folder

  3. Click the Add a new asset link and upload the "rose-red.png" image file

Enable the color swatches option on your product page settings

The final step is to make sure swatches are enabled in your settings. To do this, you'll need to open your Theme Editor and click on Theme Settings near the bottom.

From here, open the Products tab and scroll down to the "Enable color swatches" checkbox.

LogoHTML Color Names
LogoCSS Color Codes
Logo<color> - CSS: Cascading Style Sheets | MDN
rose-red.png